How to Upgrade to a Larger Aquarium
Upgrading to a larger aquarium is a task you may expect to do a few times during your time in the fish keeping hobby. This could be due to your existing fish growing and needing more space or perhaps you’re enjoying the hobby and want to keep more or a different type of fish. The reason why you often hear people advising you to buy the largest tank that space and budget allow is to avoid the additional cost and hassle of having to upgrade your tank too soon.
When it comes to upgrading to a larger aquarium it can be both exciting and stressful at the same time but with a little research something you can easily manage.
Upgrading to a new aquarium in my case involved moving the old tank out of its current location. Positioning the new tank. Adding the sand, rocks and filter media from the existing tank. Finally transferring over the fish.
The first cabinet tank I bought was 3ft 55 gallon, which I thought was huge at the time. About 2 years later I had the opportunity to upgrade as a friend offered me his 75 gallon. Another 2 years after that I upgraded to 180 gallon tank.
In this article I will walk you through, step by step what was done to get my new tank up and running and the fish transferred over. I’ve also included some thoughts on hindsight as to how it could be done better the next time.
How I upgraded from 4ft (75 gallon) to 6ft (180 gallon) tank
These are the steps I followed for upgrading from a 4ft (75 gallon) cabinet tank to a 6ft (180 gallon) cabinet tank.
- Moved the Old Tank
- Delivery & Positioning of the New Tank
- Adding the Substrate and Rocks to the New Tank
- Get the New Filter Running
- Testing the New Tank
- Moved the Filter Media and Substrate to the New Tank
- Transferring the Fish to the New Tank
Moving the Old Tank
The most difficult part of the process was clearing space for the new tank as the old tank was occupying the spot intended for the new tank. I think a lot of people will be in the same position I was as usually you will have picked out the best spot for your tank for the initial setup.
Moving the old 4 foot (75 gallon) cabinet tank was an easier task than I expected. First I disconnected the FX5 canister filter and removed it from the cabinet. Next, I removed the rocks from the tank. Without removing the fish I drained down the water, leaving about 3 inches for them. At that point, it was a two-person task to slide the tank over to the other side of the room. The trick is to push down low near the base of the cabinet.
Once the old tank was moved out of the way into its temporary spot, I filled it up with fresh water and reconnected the filter.
Delivery & Positioning of the New Tank

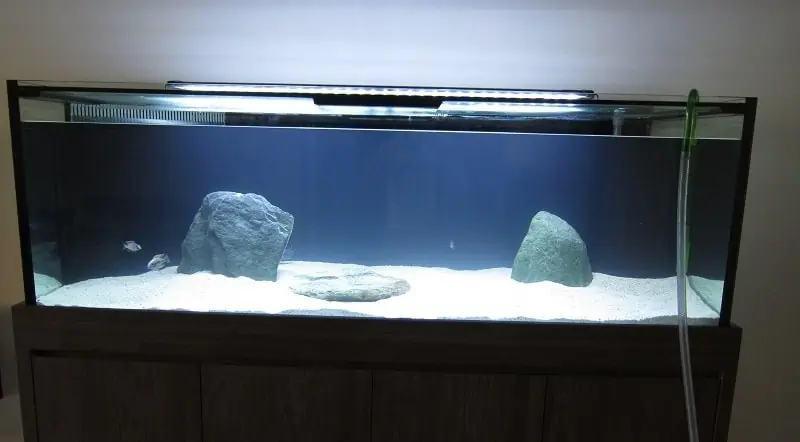
A few days later the new 6x2x2 – 180 gallon tank was delivered and positioned in the vacated spot. There was some small assembly done onsite as the sump tank needed to be placed into the cabinet and once the main tank was placed onto the cabinet the pipes are glued in place.
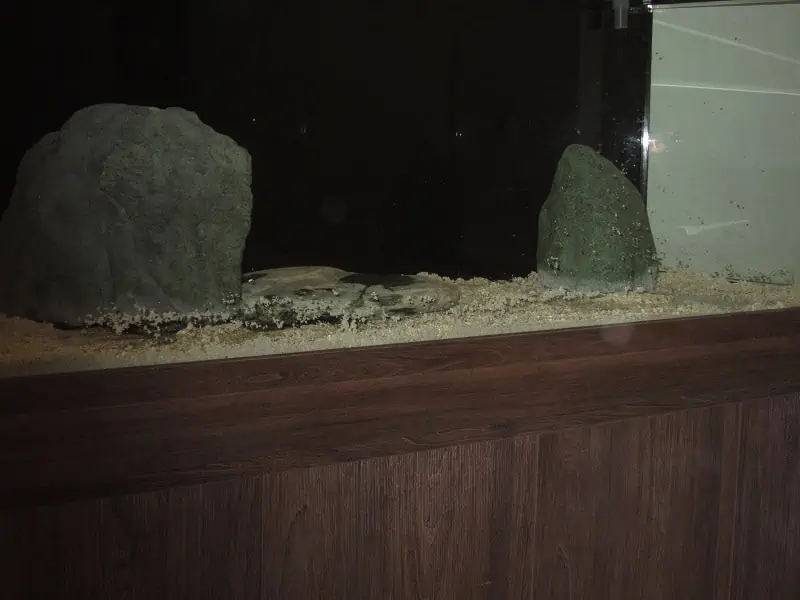
Adding the Substrate and Rocks to the New Tank
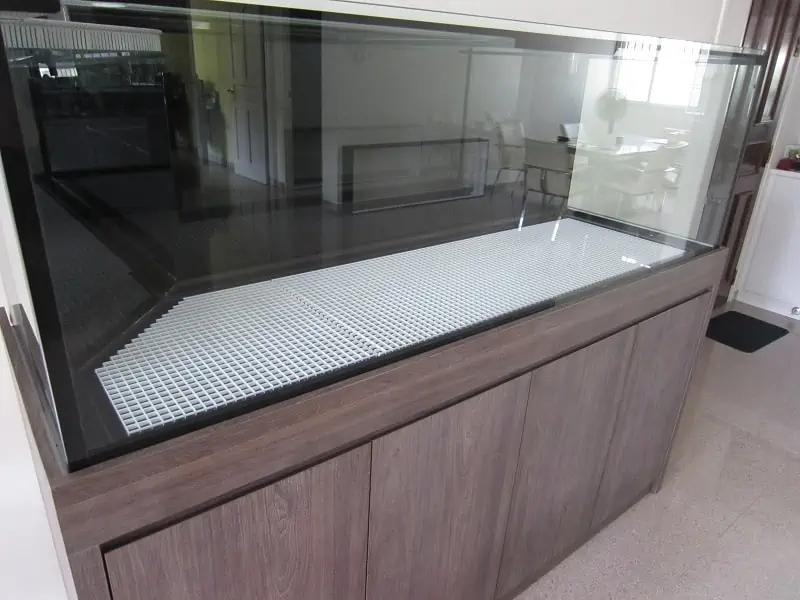
The first job of the day was to cover the base with plastic light diffuser to distribute out the weight of the rocks which would be added and to protect the glass from scratches. (Next time I would use less light diffuser and only cover the area below where the heavy rocks will be placed).
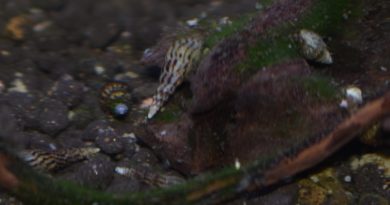
I spent a couple of hours washing the new crushed coral substrate before adding it and the 3 largest rocks into the tank. It’s worthwhile putting in the effort to clean the substrate well as it will take considerably less time for the tank water to clear.
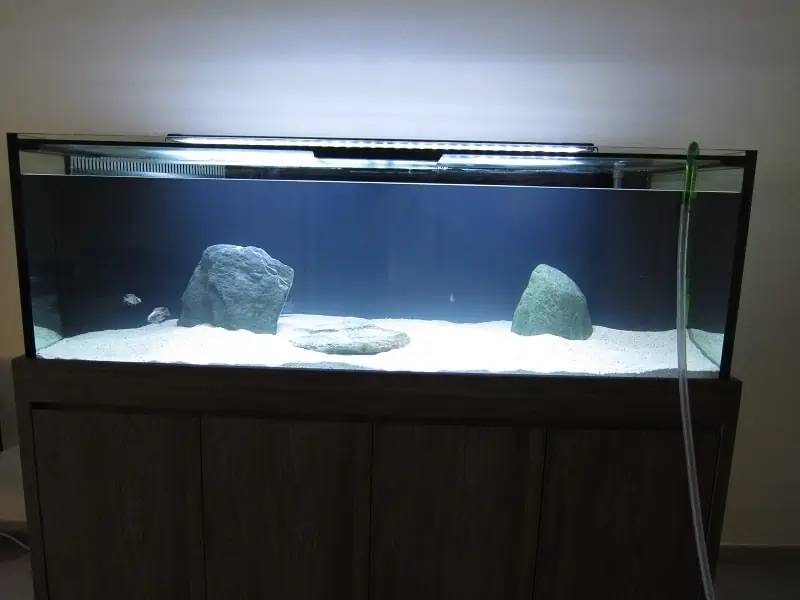
Following that, I filled up the tank using my DIY water changer. Nothing too complicated, a filter intake and enough hose to reach the tap
Get the New Filter Running
The great thing about upgrading a tank is that you already have plenty of seeded material to bring to the new tank. You don’t need to cycle the tank as there is already enough beneficial bacteria for the existing bioload.
However, at this point, I didn’t have much media in the new sump filter, just some sponges and plenty of filter wool. I got the new water pump powered on to start pushing water through the sump filter and help clear up the water. The media from the old tank will be moved over later.
For those of you interested in learning more, here is a link to my article on what order to arrange media in a freshwater sump.
Testing the New Tank
Although the tank had already been thoroughly cleaned and tested for leaks during the assembly, I was still concerned that there may be some residue left behind that could be toxic to fish. I left the tank running for two days with a couple of fish added to test the water.
Two days later the two fish were doing great in the new tank and the water had cleared up quite well.
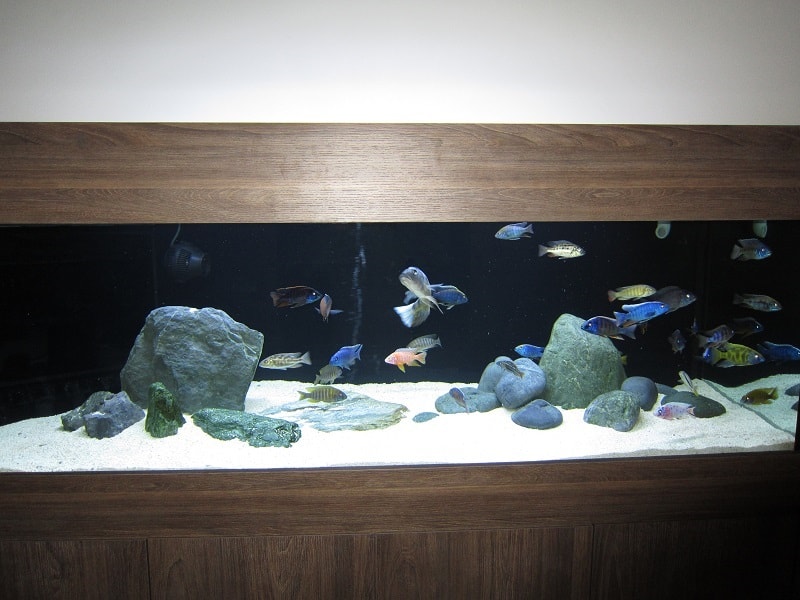
Moved the Filter Media and Substrate to the New Tank
The next step was to remove the media, sponges and polishing pads from the FX5 filter I was using on the 4 foot tank. I gave it a light rinse in some tank water before adding it into the new sump tank. Another option would be to move the filter from the old tank to the new tank or add the media from the old filter to your new filter if you are doing a filter upgrade as part of the setup. The main thing is to use all or as much as possible of the old filter media and sponges for the beneficial bacteria they contain.
I then siphoned out all of the crushed coral substrate from my 4 foot tank and added it to the 6 foot. (This was a mistake and should have been done at the same time as adding the new substrate, before filling the new tank with water. A 50% water change was needed to clear up the water a bit).
The remainder of the rocks were added to complete the hardscape.
Transferring the Fish to the New Tank
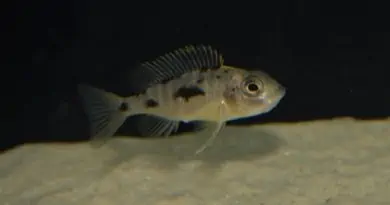
The final step was to move over the fish. As the water parameters and temperature of both tanks was quite similar it was just a simple task of netting the fish and moving them to the new tank. The old tank water doesn’t need to be moved.
The fish acclimatized quickly to the new environment without any casualties. African cichlids are quite hardy fish.
Conclusion
Upgrading your fish tank doesn’t need to be a stressful task. It’s a bit of work but if planned out well it can be quite enjoyable to see your new tank take shape. Take your time and don’t pressurize yourself into getting everything finished the same day.
Below are my key points:
- If your old tank needs to be moved make sure to get that done in advance. That’s the task I dreaded the most.
- Take as much of the old filter media, substrate and decor as possible from the old tank to the new tank. That’s where most of the good bacteria are.
Best of luck with your tank upgrade. Hopefully, all goes well and you can enjoy the fruits of your efforts for years to come.
Thanks for reading. If you found this article helpful, don’t forget to share 🙂