How to disinfect a fish tank without using bleach
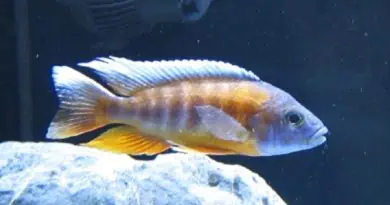
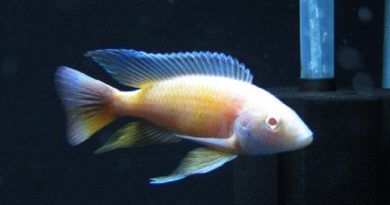
A while back I had a disease outbreak that spread rapidly through my main display tank. Despite my best efforts to treat the disease with various types of medications, I was unable to find a cure and it wiped out most of the fish in the aquarium. Before restocking the tank, I wanted to ensure that the disease was fully gone and I began researching different methods for disinfecting the tank.
Bleach was the solution recommended by a number of websites and forums but I wasn’t convinced that it would be easy as it sounds to remove all traces of bleach from the tank.
Vinegar was another method that I was considering. While it was a less toxic option than bleach, I did have reservations that the living room would smell of vinegar during the treatment.
Drying out seemed like the safest choice route but there are certain types of diseases and parasites that are able to survive being dried out for a period of time and I didn’t want to take a chance that the disease could reoccur.
After extended research, I found another option, Hydrogen Peroxide.
Hydrogen Peroxide (H202) appears to be the ideal solution for disinfecting a fish tank. Unlike bleach, Hydrogen Peroxide breaks down into water (H2O) and oxygen (O2) after contact with water for 24 hours and will be safe for your fish at that point.
In this article we will go through the steps I used to disinfect my fish tank and the dosage of Hydrogen Peroxide used.
The reason why I didn’t want to use bleach to disinfect the tank
Although bleach initially seemed like a good option, I did have a concern since the rocks, crushed coral substrate and bio media I was using were all quite porous. It would be very difficult to ensure that all traces of bleach had been removed from the tank and I wasn’t willing to replace all the hardscape and bio media.
Here are the steps I used to disinfect my tank without using bleach
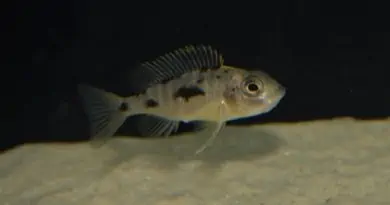
At this point, all the remaining fish had been removed from the tank and were under observation in a smaller tank. My main focus now was to nuke the display tank to eliminate all possible sources of disease.
I was prepared to re-cycle the aquarium and build up the beneficial bacteria colony again from scratch
Overview
| Day 1 | Give the tank a full cleaning. Refill with tap water but don’t add dechlorinator. |
| Day 2 | Add Hydrogen Peroxide as per the recommended dosage. |
| Day 3 | No action. |
| Day 4 | Fully drain water out of the tank and allow it to dry. |
| Day 5 | Turn substrate to help speed up the drying process. |
| Day 6 | Turn substrate to help speed up the drying process. |
| Day 7 | Refill the tank and prepare to add fish. |
Day 1
To start I gave the tank a thorough cleaning, which involved vacuuming the substrate, cleaning the filter sponges and replacing the filter wool. A full water change was done without adding any dechlorinator.
The purpose for not adding dechlorinator was to allow the chloramine/chlorine in the tap water to do its intended job of killing the bacteria in the tank.
The tank was left to run for a day after cleaning.
Days 2 & 3
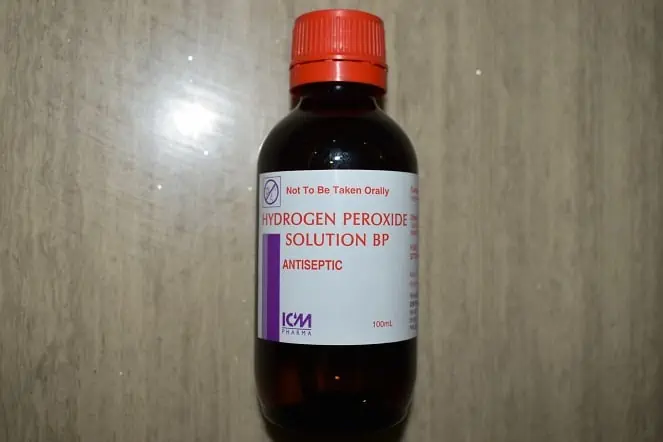
On the second day, I added 5 x 100ml bottles of Hydrogen Peroxide to my tank and left the tank running for 2 days. This would ensure sufficient time for the Hydrogen Peroxide to sterilize the tank on the first day and by the end of the second day it would have broken down to water and oxygen.
Hydrogen Peroxide is sensitive to light and it is best for it to be added to the tank at night time and to leave the tank lights off for the duration of the treatment.
The dosage I used was 100ml Hydrogen Peroxide (H2O2 @ 3%) added to 200L (50 US G.) of tank water.
Here is a good article if you want to read more about the various uses for Hydrogen Peroxide in an aquarium and the dosages. (source http://www.theaquariumwiki.com/wiki/Hydrogen_peroxide).
Days 4, 5 & 6
On the fourth day, the tank water was drained completely and the tank was left to dry out. This took a few days and during that time I turned the substrate a few times to ensure it was drying out completely and not only the top layer.
Some people may prefer to replace the substrate and bio media but I was quite confident that the combination of tap water, Hydrogen Peroxide and drying out steps used in this process would be enough to sterilize the tank.
Day 7
By day 7 the substrate had completely dried out and the tank was ready to be used again. I filled the tank with water and added dechlorinator.
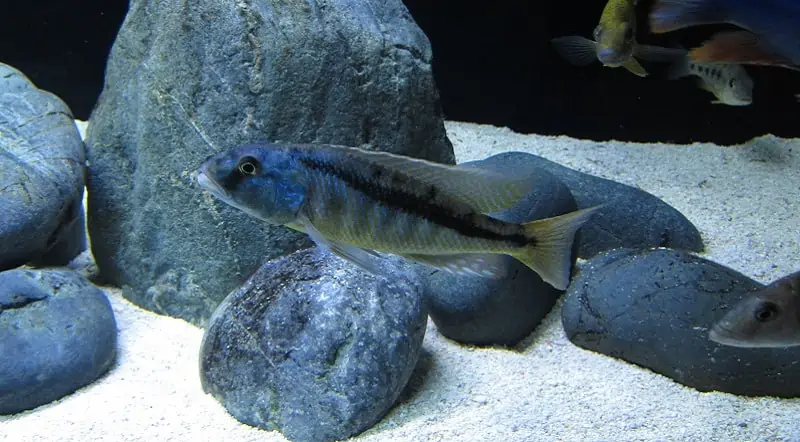
I was confident at this point that the tank had been fully sterilized and that fish could be added and I moved some of the fish from my smaller tanks into the display tank without any issues.
Seachem Stability was used to kick-start the cycling process.
It may seem a bit extreme to go through all this work to sterilize the tank. However, when the cost of replacing the fish and the time it takes to grow them to maturity are taken into consideration, it is well worth the effort to ensure that the tank is clean to start off with.
Conclusion
While many people have had great success disinfecting aquariums with bleach, I always feel a bit worried about using this option. No matter how many times I rinse everything, I am always worried that the bleach hasn’t been fully removed.
For me, Hydrogen Peroxide is a much safer option due to it breaking down into water and oxygen. I have no fears that the fish are being put into a harmful environment.